


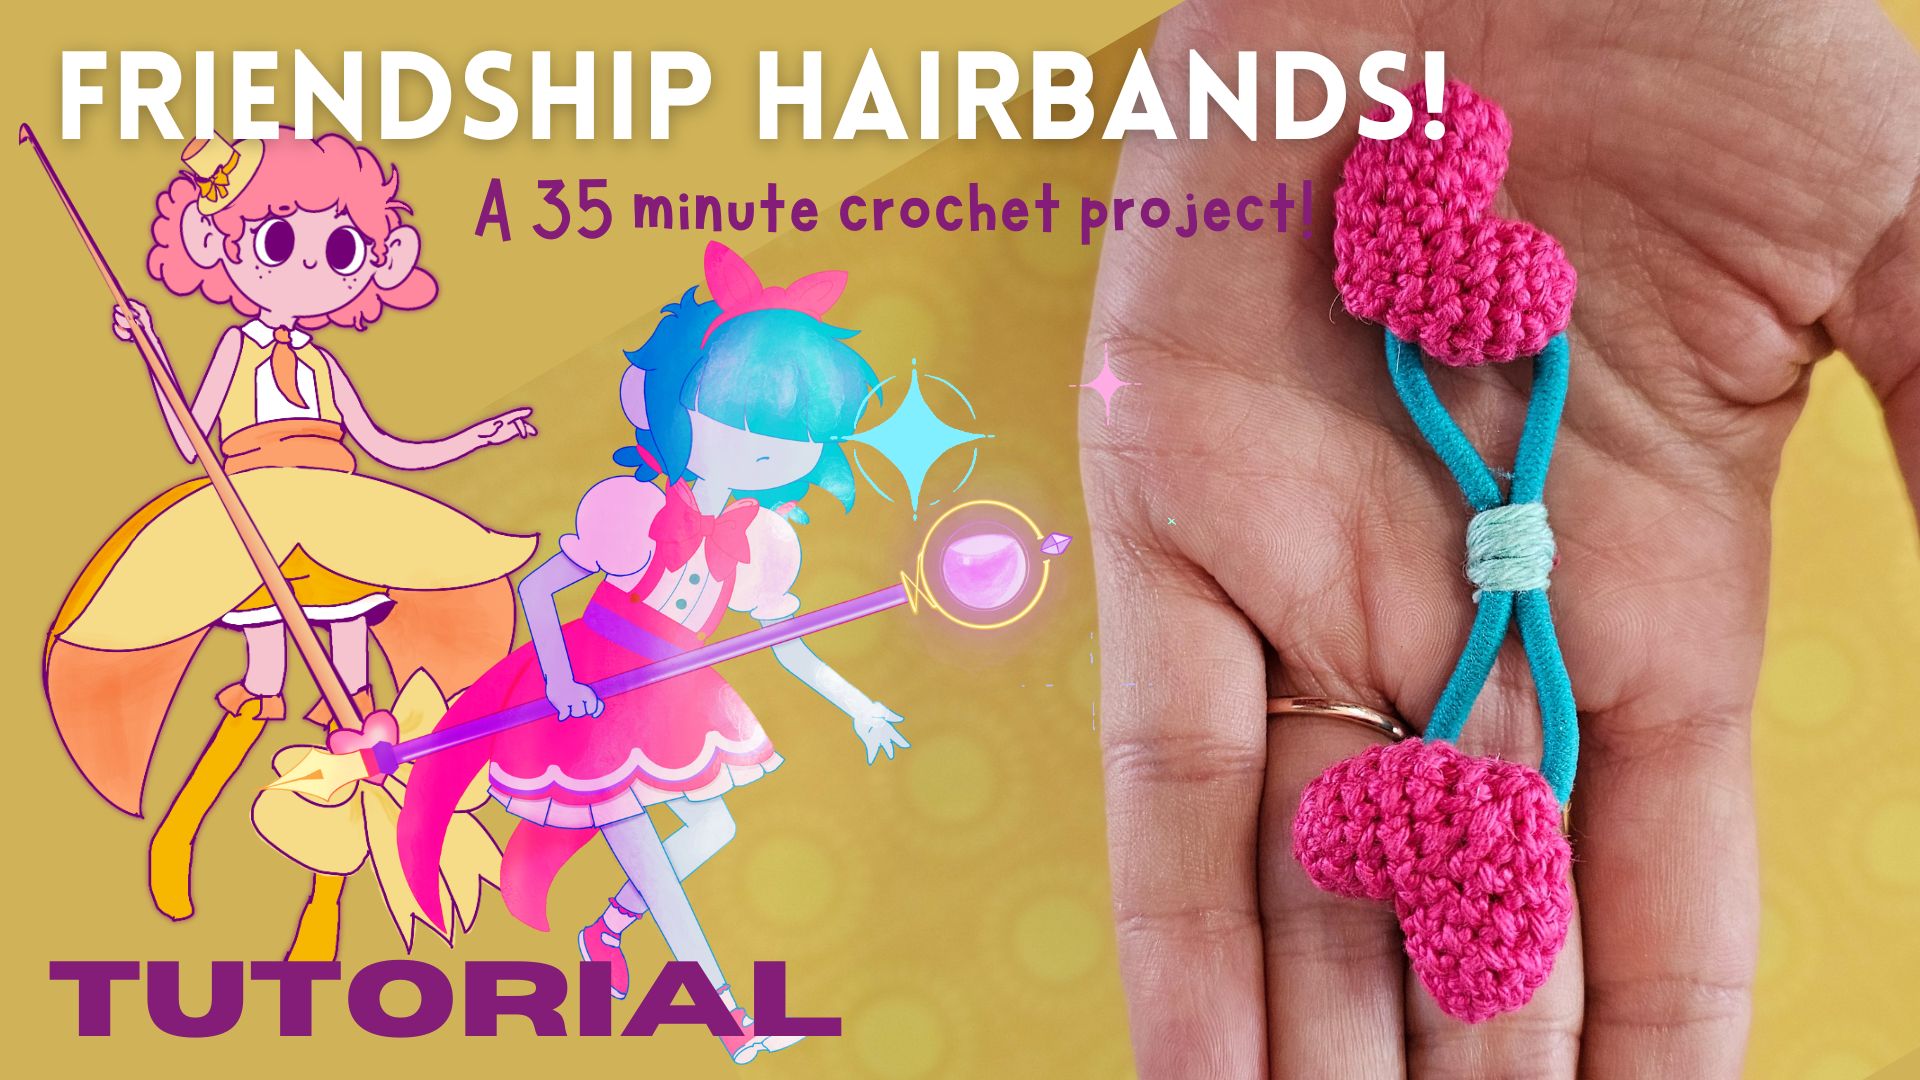
Friendship Hairbands (a Galentine’s Present!)

Written by Freddy Goat Design Team
Friendship Hairbands (twin-out with your bestie!)
NOTE: This post contains affiliate links for Lovecrafts. We earn a small commission if you purchase from them using our affiliate links.
The pattern was originally designed with their acrylic yarn line, Schachenmayr Catania, a 100% mercerized cotton sport weight yarn. You’ll find links to that yarn in the materials list below!

Before we get started, this is what you need…
Supplies/Materials
- 2mm crochet hook
- tapestry needle
- hair elastic — 1 per hairband
- poly bands (small rubberbands) — 1 per hairband
- Schachenmayr Catania (or similar sport weight/4-ply yarn) in:
In our opinion...
Schachenmayr Catania is a DELICIOUS sportweight/4-ply yarn. It comes in miriad colors, has a gorgious sheen, and is generally a delight to work with. If you like working with sport-weight, we highly recommend trying it out.
Full disclosure: The link above is an affiliate link. If you choose to purchase yarn with it, we will get a small commission — which we would very much appreciate, too!
Gauge
5-rnd gauge circle with 2mm hook = 1.25″
Gauge isn’t terribly important in amigurumi, so it is okay to use a slightly larger hook if that is all you have. However, you don’t want to see stuffing through the stitches, so don’t get too big.
TECHNIQUES & STITCHES
- Magic ring (MR)
- Chain (ch)
- Slip stitch (sl st)
- Single crochet (sc)
- Single crochet increase (inc)
- Decrease (dec)
- Invisible join
- Work in the bumps on the back of the chain (in BB)
- Front/back loops only (FLO/BLO)
- Remaining (rem)
- Stitch (st)
Download here our free Terms and Techniques glossary for more information.
Or check out Crochet 101 for tips on how to do these and other stitches!

©2025 Freddy Goat. FREDDY GOAT ALL RIGHTS RESERVED. No part of this free crochet pattern may be published, resold, reproduced (in any form or by and means, electronic or mechanical, by photocopying, recording or otherwise), shared, translated or altered without prior permission in writing from the author.
If you sell or exhibit items made using this pattern, credit Freddy Goat Patterns and Design as the original designer. Also, pleases give us a tag on social media so we can see your beautiful work.
Friendship Hairband Pattern
Hearts
- Make 2 hearts per hairband.
Rnd 1: MR, sc 6.
Rnd 2: *Inc, sc* x 3. [9 sts]
Rnd 3: Sc 9.
Note: Complete Rnds 1-3 twice. After completing the first time (Part 1), break the yarn, sl st, and invisible join. After completing Rnds 1-3 the second time (Part 2) leave the yarn on your hook and proceed with Rnd 4.
Rnd 4: Continue in Part 2, sc 4, insert your hook into any st of Part 1, sc 9, return to Part 2, sc 5. [18 sts]
Rnd 5: *Sc 2, dec, sc2* x 3. [15 sts]
Rnd 6: *Sc 3, dec* x 3. [12 sts]
Pause to stuff the heart.
Rnd 7: Dec x 6. [6 sts]
Break the yarn, put the yarn tail on a tapestry needle, thread through the FLO of the rem 6 sts, and pull to draw closed.


Hairband Loops
Row 1: Ch 6, sc 5 into the bumps on the back of the ch-6, starting with the second ch from hook. [6 sts]
Fasten off and leave the tails for sewing to the bottom of the Heart.
Use one tail to sew one side of the loop to the back of the heart.

Now that you’ve finished the hard part, let’s move on to assembly!
Assembly
Prep the Hairband
Wrap a clear polyband around the center of the hairband several times, forming a figure eight.
Wrap yarn around the polyband until you can no longer see it. When you begin wrapping, be sure to wrap the yarn around the starting tail to hold it in place.
Thread the free end on a needle, then thread it through the center of the poly band until snug. Clip both ends.


Attach the Hearts to the Hairband
Wrap the free end of the hairband loop around the hairband and use the rem yarn tail to sew it to the Heart.
Repeat on the other side of the hairband.


You did it!!!

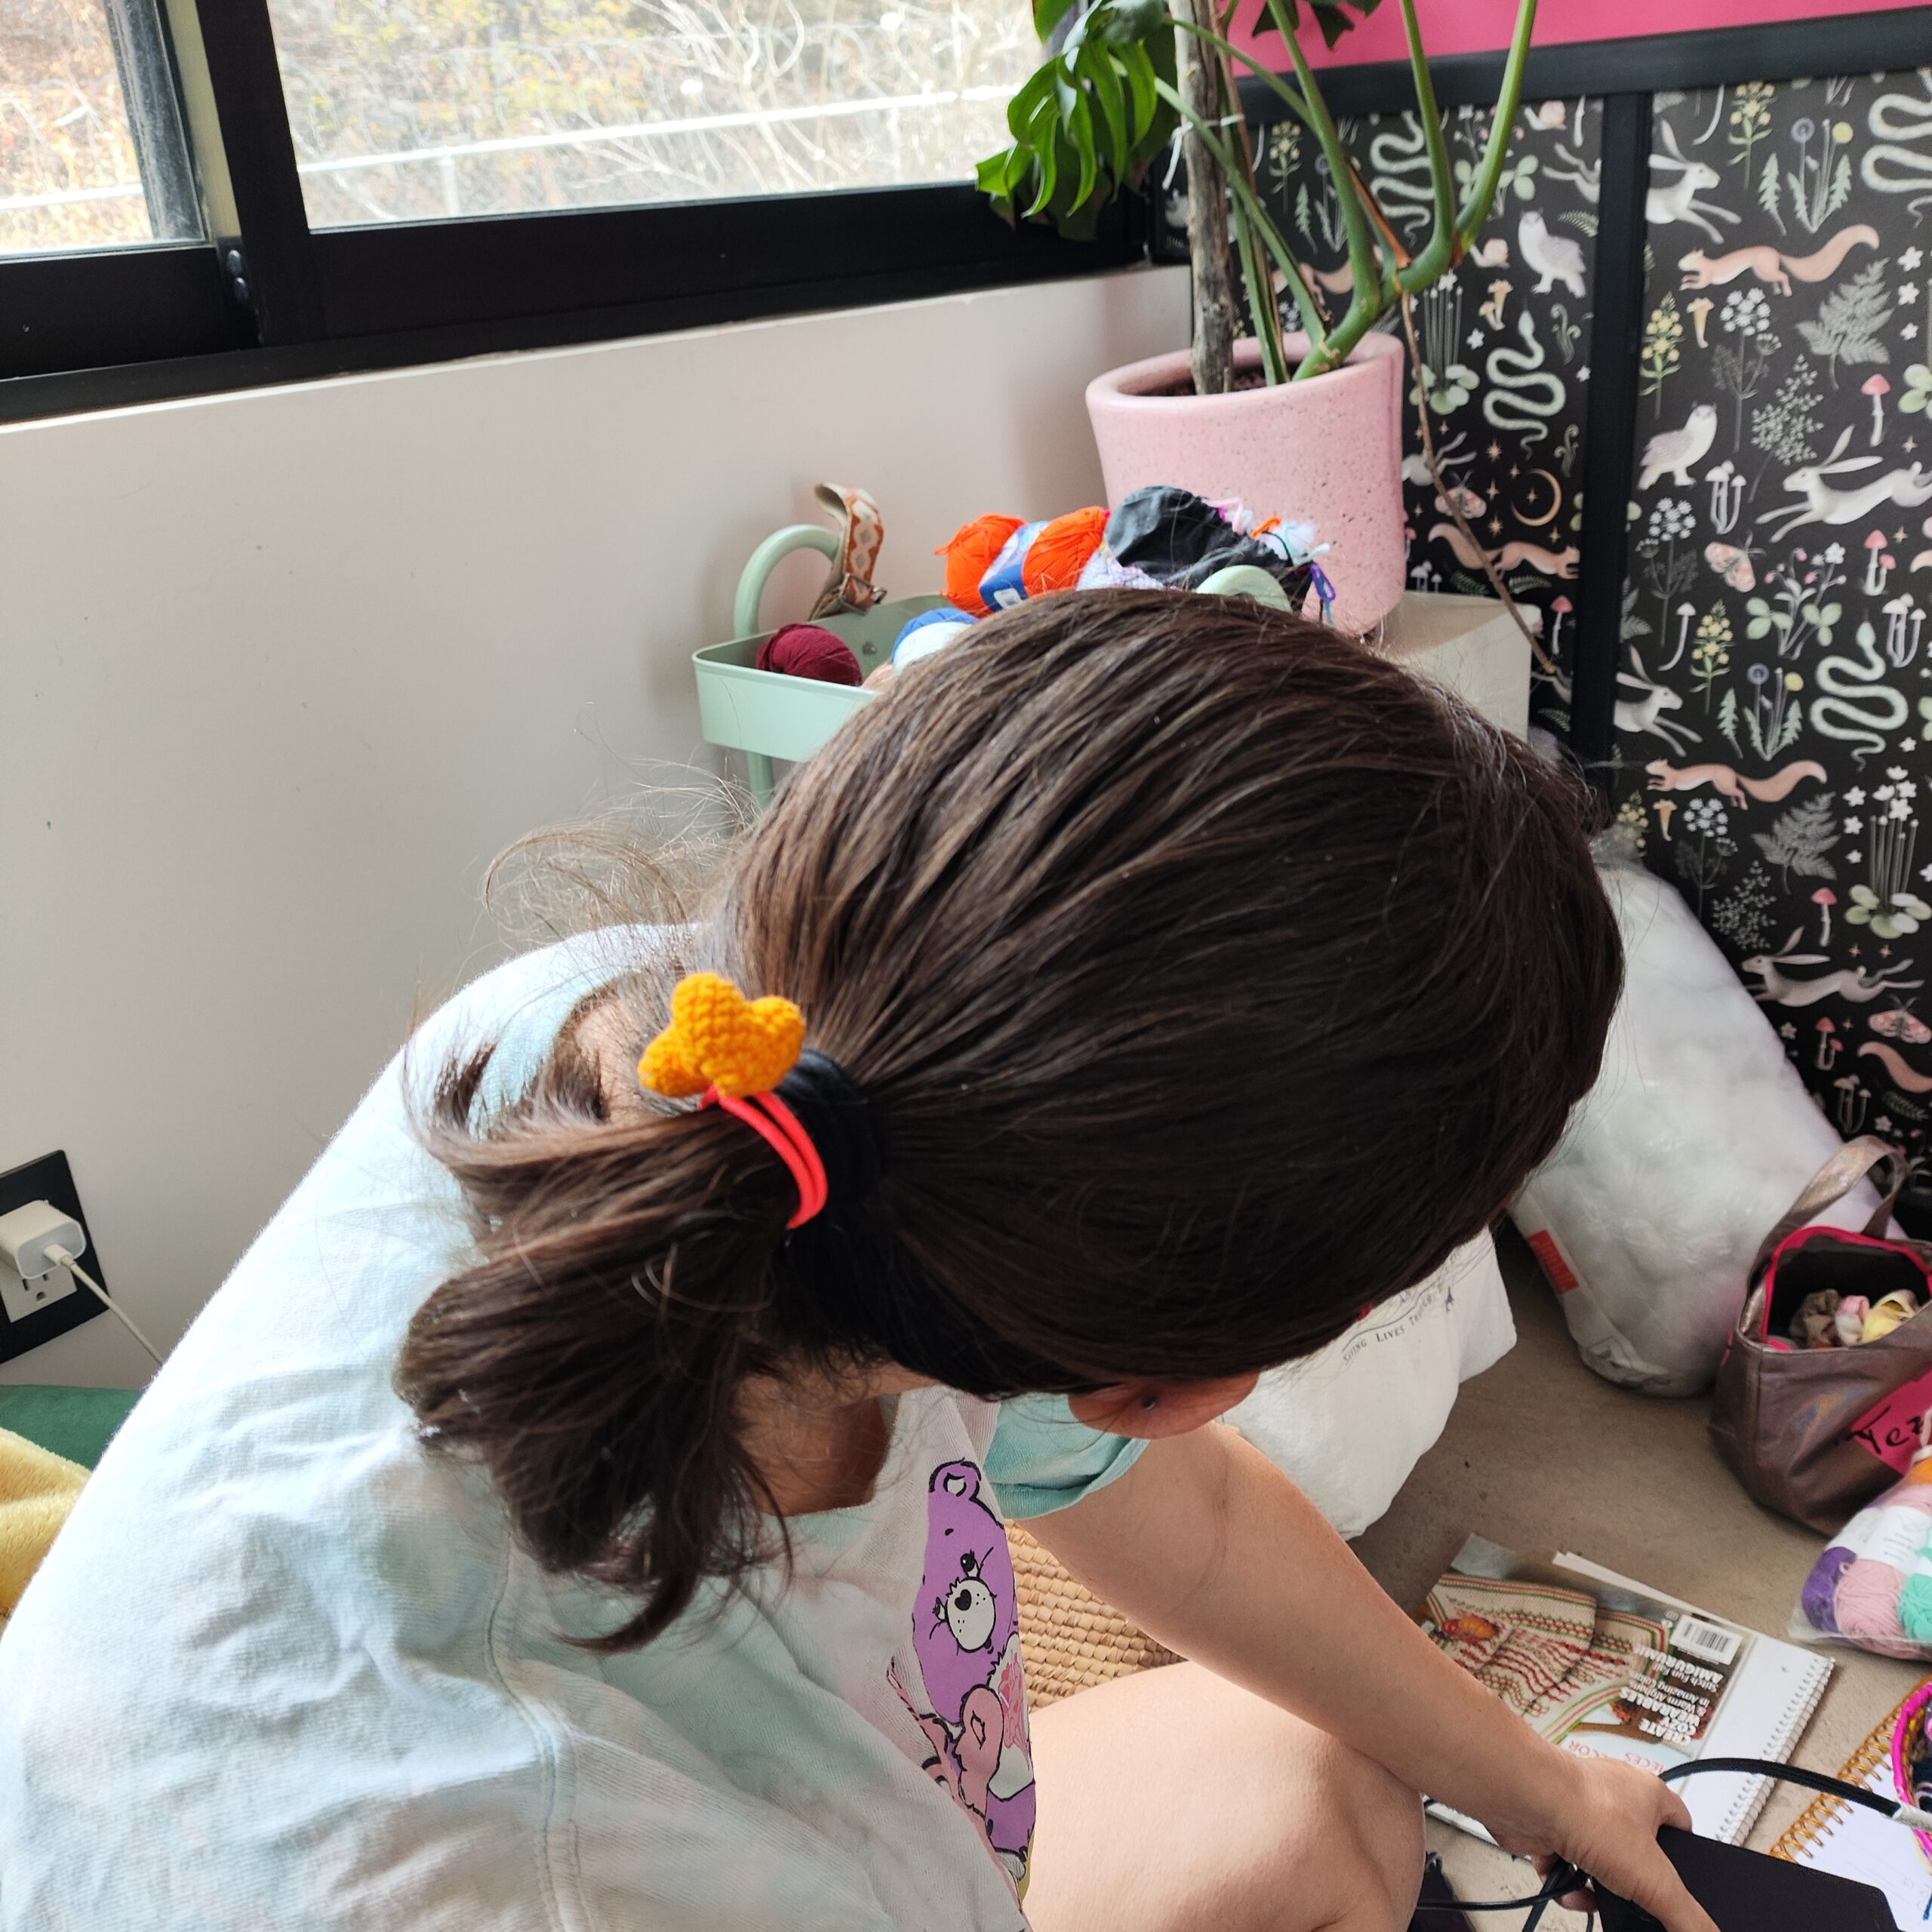
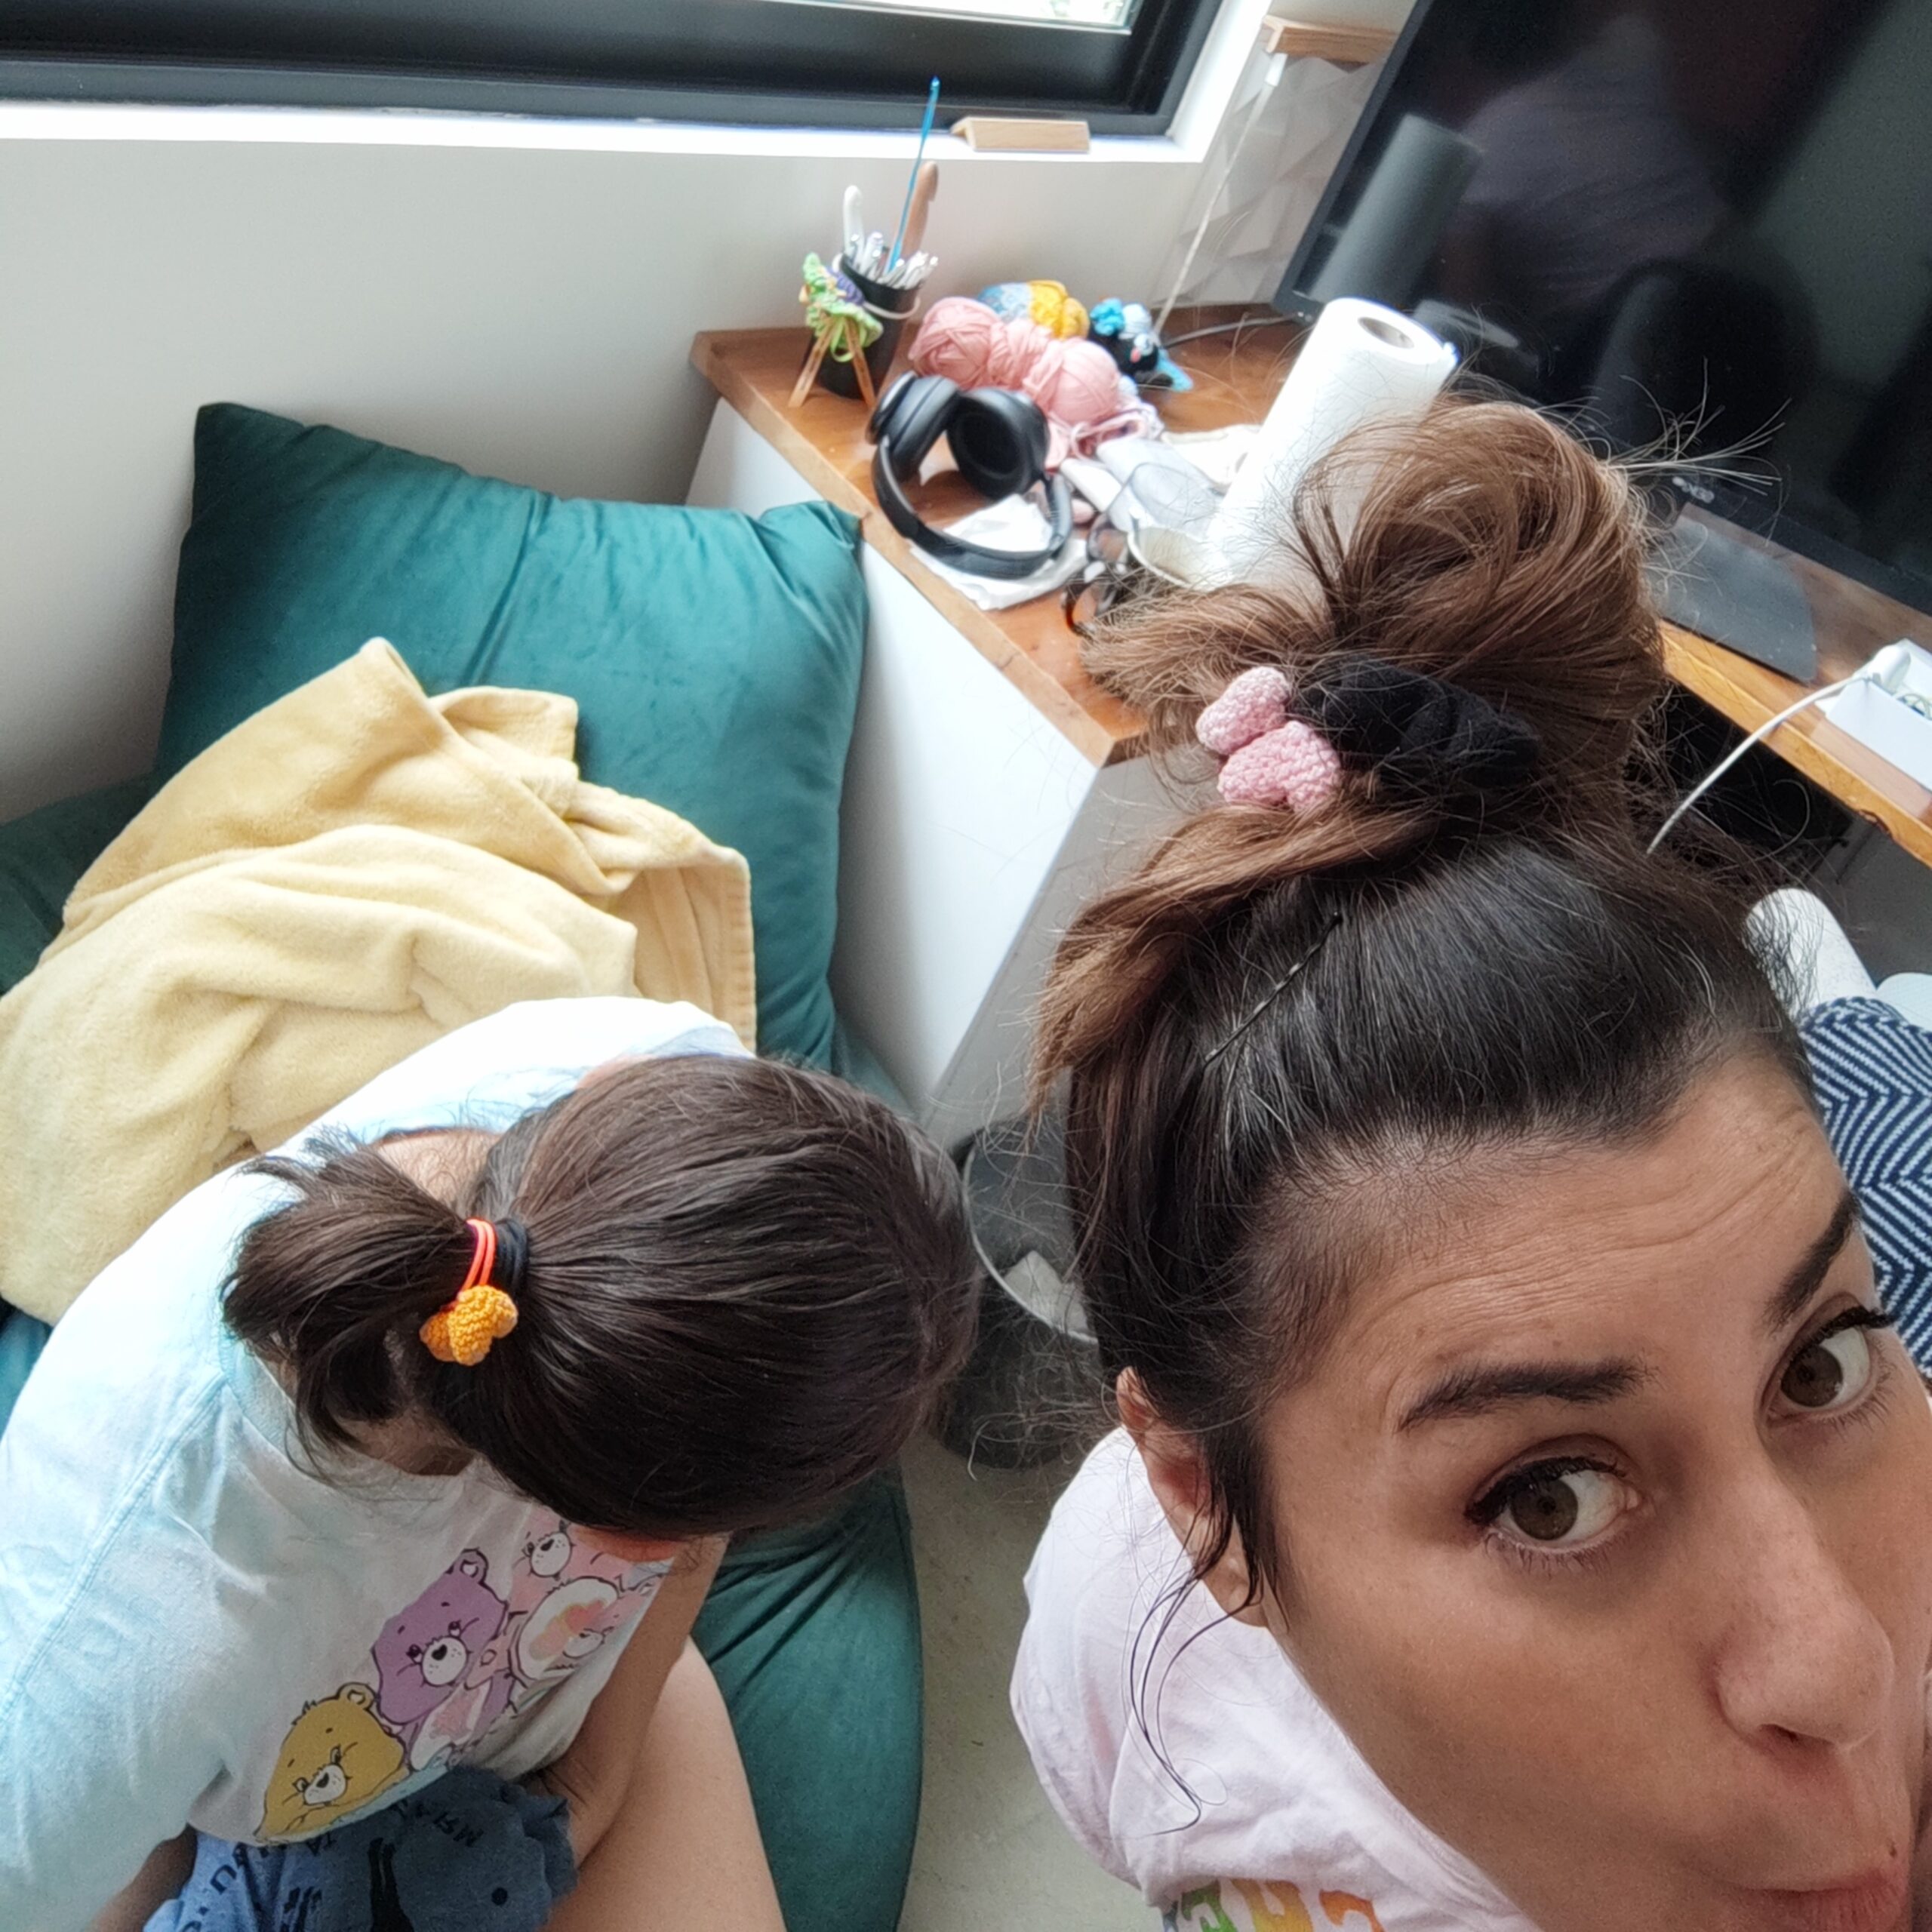

Thank you so much for making Friendship Hairbands! We hope you and your bestie love them and enjoyed the pattern. We would totally love to see the finished product. Please post a pic and tag us in your social when you have a chance. Also, drop a comment below or send us an email if you have any questions or feedback on the patterns.
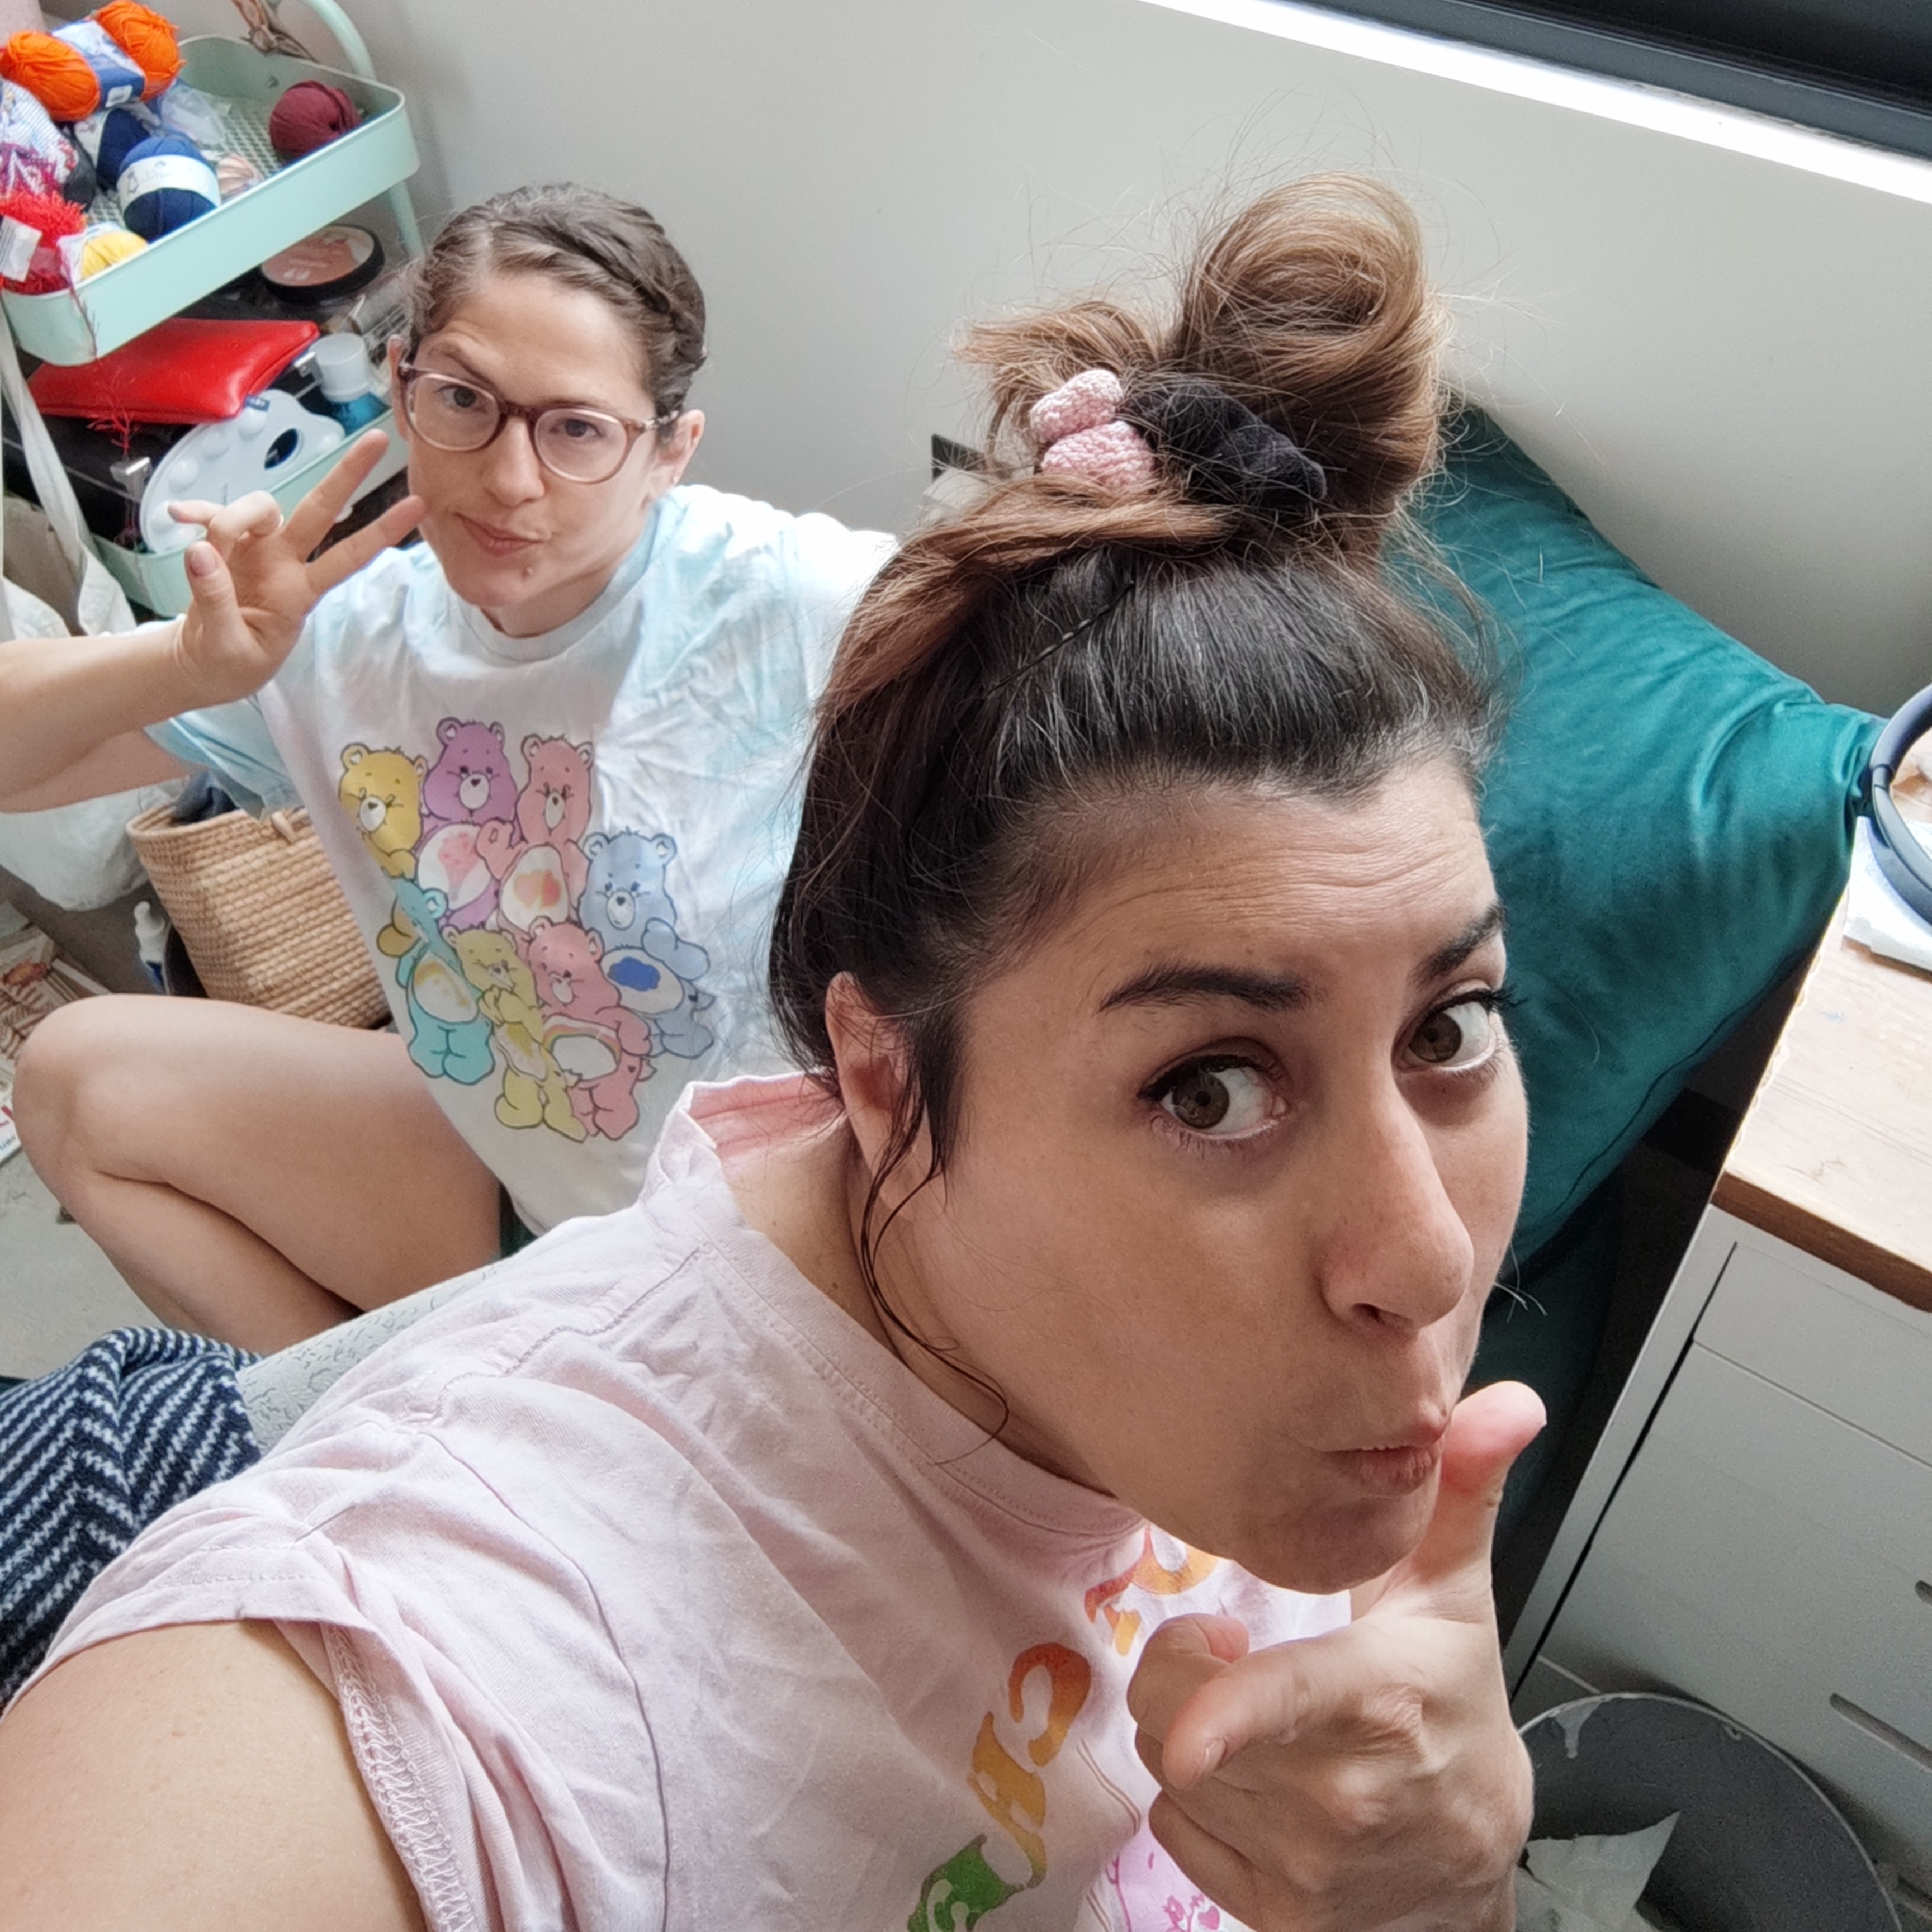
Thanks a million!!!! Lots of love and silliness<3
Written by Freddy Goat Design Team
Related Articles
Crochet Elizabethan Collar Pattern
Give your amigurumi Shakespearean era RIZZZZZZZ Do your amigurumi lack a certain je ne sais quoi? Do friends and family dismiss them as “stuffies”, “cute lil guys”, or “critters”? Do you find yourself wishing your amis had... GRAVITAS?!? We at Freddy Goat understand...
Been – a simple crochet bee pattern
BEEN (that total unit of a crochet bee) Nearly three years ago we decided to do a series of simple, bean shaped patterns for begining crocheters, only to discover that "simple and bean shaped" isn't a lot of fun to design. The results? One charming Been, the...
Week 2: Trying Out Crochet Triangles
Wow! This was an incredibly difficult post to get started on! To be perfectly honest, I almost never use triangles in amigurumi creation, so I didn’t have much insight to impart when I sat down to write this. Then I realized that might be a blind-spot worth exploring....
Thank you very much for this free pattern! It turned out so cute!
They turned out so cute!! Thank you very much for the tutorial!!
Awesome!!! We are so glad you like them! Thanks for making them<3