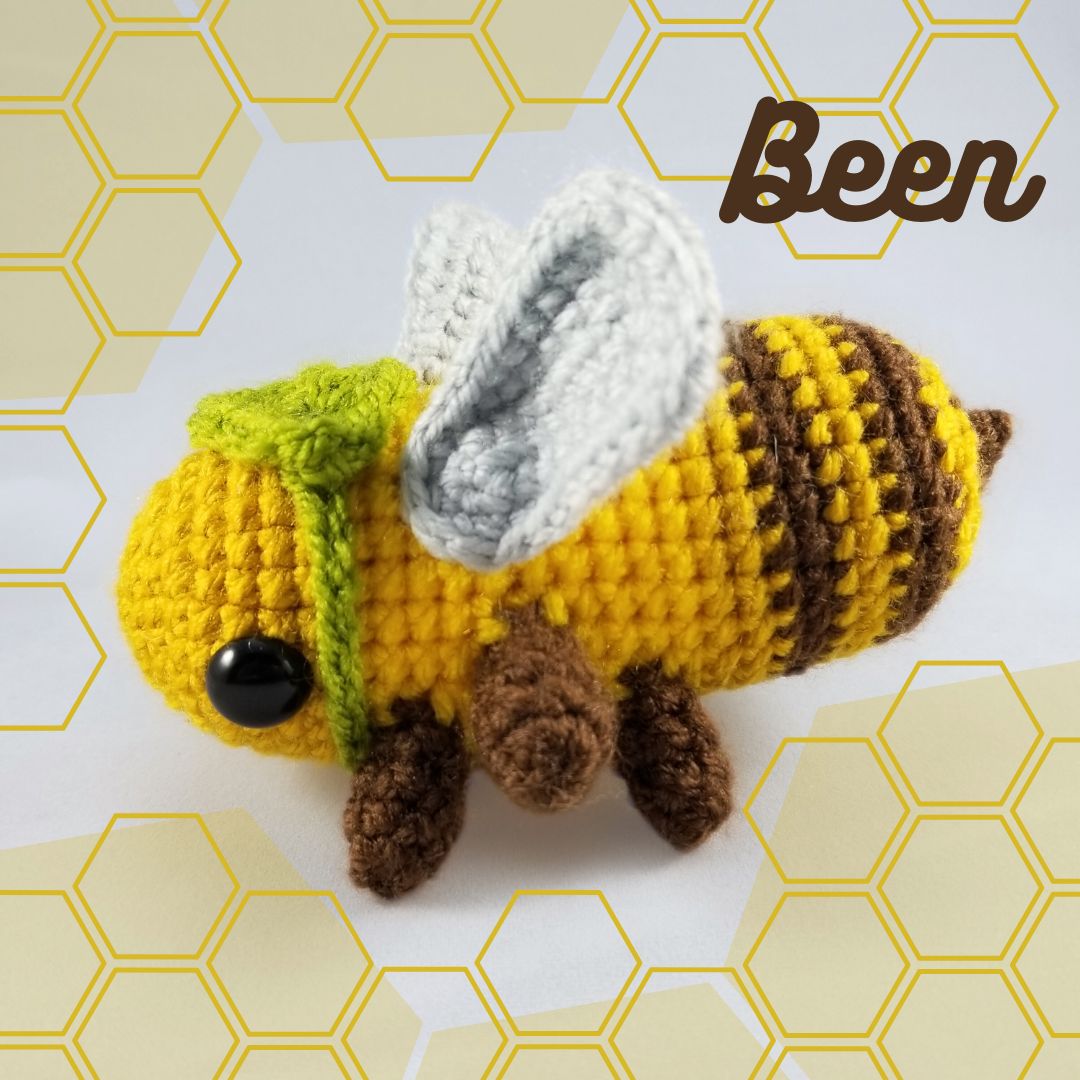
Been – a simple crochet bee pattern
Written by Freddy Goat Design Team
BEEN (that total unit of a crochet bee)
Nearly three years ago we decided to do a series of simple, bean shaped patterns for begining crocheters, only to discover that “simple and bean shaped” isn’t a lot of fun to design. The results? One charming Been, the beginnings of a TRULY awful lady bug, and nothing else.
Around that time, crochet bees were swarming the internet (HA!), so despite liking this little buddy, we decided to sit on the pattern until the bee trend buzzed off. Then, in the time honored Freddy Goat fashion, we completely forgot about it. Happily, Goat bumbled across it the other day (I am on FIRE!), and we decided to give it to y’all for free!
If you make yourself a Been, tag us on insta @freddy_goat_crochet. We would love to see your yarny pollinators!
NOTE: This post contains affiliate links for Lovecrafts. We earn a small commission if you purchase from them using our affiliate links.
The pattern was originally designed with their acrylic yarn line, Paintbox Simply Aran. You’ll find links to that yarn in the materials list below!
Before we get started, this is what you need…
Supplies/Materials
- 2.75mm hook
- Paintbox Simply Aran (or similar medium weight yarn) in:
- Color A: Mustard Yellow (223)
- Color B: Buttercup Yellow (222)
- Color C: Coffee Bean (210)
- Color D: Misty Grey (203)
- Color E: Lime Green (228)
- 12 mm safety eyes
- Tapestry needle
- Stuffing
Gauge
5-rnd gauge circle = 1.75”/4.5cm Gauge isn’t terribly important in amigurumi, so it is okay to use a slightly larger hook if that is all you have. However, you don’t want to see stuffing through the stitches, so don’t get too big.
TECHNIQUES & STITCHES
- Magic ring (MR)
- Skip the next stitch (sk)
- Chain (ch)
- Slip stitch (sl st)
- Single crochet (sc)
- Half double crochet (hdc)
- Double crochet (dc)
- Treble crochet (tr)
- Single crochet increase (inc)
- Invisible decrease (invdec)
- Invisible join
- Work in the bumps on the back of the chain (in BB)
Download here our free Terms and Techniques glossary for more information.
Or check out Crochet 101 for tips on how to do these and other stitches!
©2024 Freddy Goat. FREDDY GOAT ALL RIGHTS RESERVED. No part of this free crochet pattern may be published, resold, reproduced (in any form or by and means, electronic or mechanical, by photocopying, recording or otherwise), shared, translated or altered without prior permission in writing from the author.
If you sell or exhibit items made using this pattern, credit Freddy Goat Patterns and Design as the original designer. Also, pleases give us a tag on social media so we can see your beautiful work.
Free bee crochet pattern
Legs
- Worked in the round in Color C
- Make 6.
Rnd 1: MR, sc 6.
Rnd 2 – 4 (3 rnds): Sc 6.
Sl st, break the yarn, and invisible join. Lightly stuff each leg and set aside.
Tip: The yarn tails are more than enough stuffing for each leg!
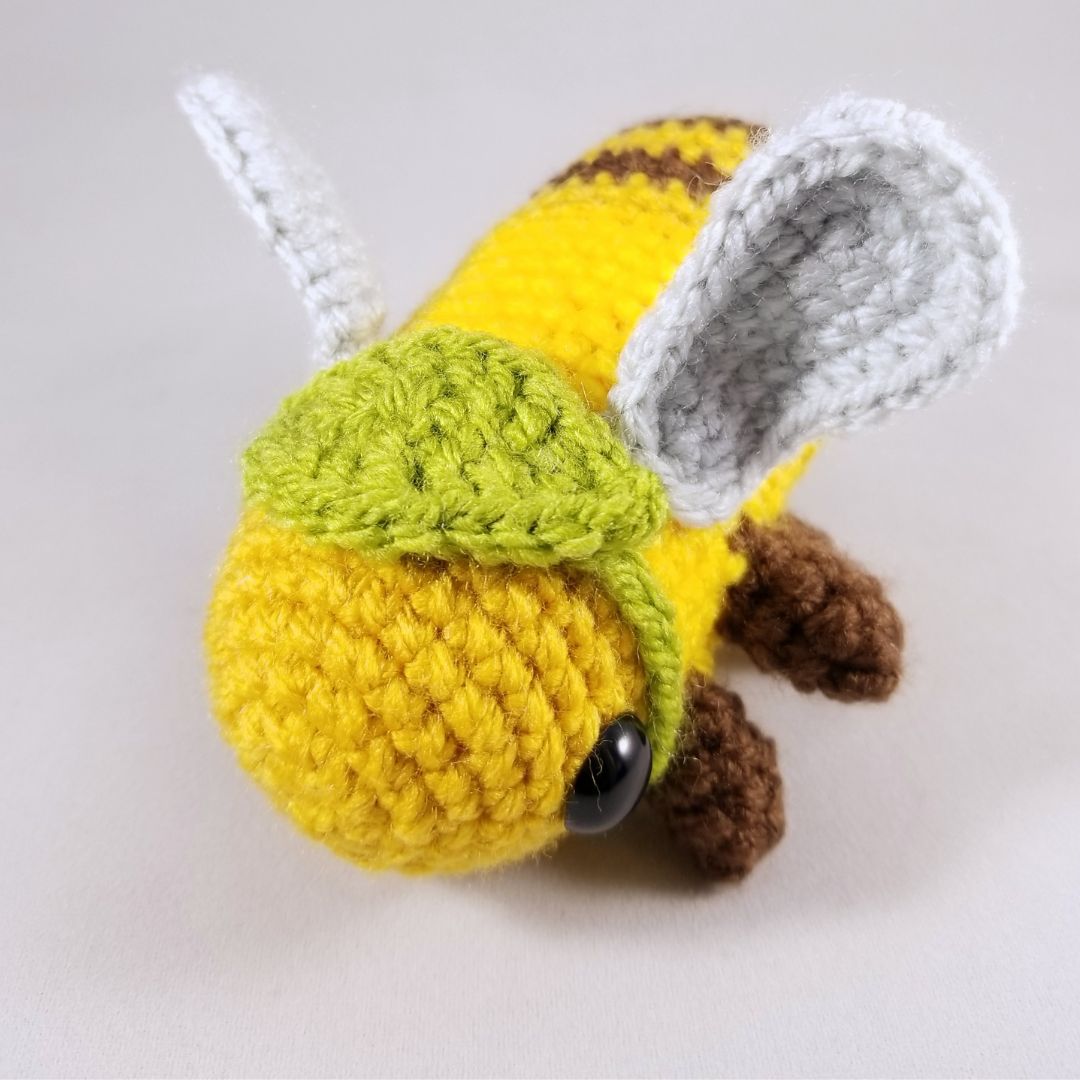
Body
- Worked in the round, beginning in Color A.
- Attach the snap eyes between Rnd 7 and 8 about 17 sts apart.
- You will attach the legs to the body on Rnds 11, 14, 17 (two legs per round).
- Stuff the body as you go.
Rnd 1: MR, sc 6. [6 sts]
Rnd 2: Inc x 6. [12 sts]
Rnd 3: *Inc, sc* x 6. [18 sts]
Rnd 4: *Sc, inc, sc* x 6. [24 sts]
Rnd 5: *Sc 3, inc* x 6. [30 sts]
Rnd 6 – Rnd 9 (4 rnds): Sc 30.
Rnd 10: Change to Color B, sc 30.
Note: In the next round, when attaching the legs, insert the hook through the sts of the leg from the inside out, then into the sts of the body as usual. Use the same technique in Rnds 14 and 17.
Rnd 11: Sc 3, sc 3 through 3 sts of the leg and 3 sts of the body, sc 18, sc 3 in 3 sts of a the 2nd leg and 3 sts of the body, sc 3. [30 sts]
Rnd 13: Sc 30.
Rnd 14: Sc 5, sc 3 through 3 sts of the leg and 3 sts of the body, sc 14, sc 3 in 3 sts of the 2nd leg and 3 sts of the body, sc 5. [30 sts]
Rnd 15: Sc 30, working through the remaining 3 sc of each leg when you get to them.
Rnd 16: Sc 30.
Rnd 17 — Rnd 19: Repeat Rnds 11 – 13.
Rnd 20 – Rnd 21: Change to Color A, sc 30.
Rnd 22 – Rnd 23: Change to Color C, sc 30.
Rnd 24 – Rnd 25: Change to Color A, sc 30.
Rnd 26 – Rnd 27: Change to Color C, sc 30.
Rnd 28: Change to Color A, *sc 3, invdec* x 6. [24 sts]
Rnd 29: *sc, invdec, sc* x 6. [18 sts]
Rnd 30: Change to Color C, *invdec, sc* x 6. [12 sts]
Rnd 31: Invdec x 6. [6 sts] Make sure the body is firmly stuffed.
Rnd 32: Invdec x 3, sl st in next, then break yarn and weave in tail.
Wings
- Worked in the round in Color D.
- Make 2.
Rnd 1: Ch 9, starting in 2nd ch from hook, sc 8 in BB, ch 1. [18 sts, including both ch-1]
Rnd 2: Sc 7, inc, sk ch-1, ch 1, inc, sc 7, sc in ch-1. [20 sts, including ch-1]
Rnd 3: Inc, sc 6, 3-hdc in next st, hdc 3, 3-hdc in next st, sc 6, inc x 2. [24 sts]
Rnd 4: Sc 6, hdc4, inc, sc 4, inc, sc. Sl st, break the yarn, and invisible join. Weave in the yarn tails.
Stitch the narrow end of the wings to the body a few stitches above the front legs.

Leaf Hat
- Worked in rows in Color E.
Row 1: Ch 10, starting in 3rd ch from hook, dc 2, 2 tr in next st, dc 2, hdc, sc, sl st, ch 1, rotate to continue in the top of the foundation ch, sl st, sc, hdc, dc 2, 2 tr in the next st, dc, 2 dc in the next st, sl st into the top of the ch-3, then ch 30.
Break the yarn and pull the tail through the last chain. Wrap the ch-30 around the head and use the yarn tail to stitch the end of the chain to the leaf hat.
(I mean… who doesn’t want a leaf hat?!?)
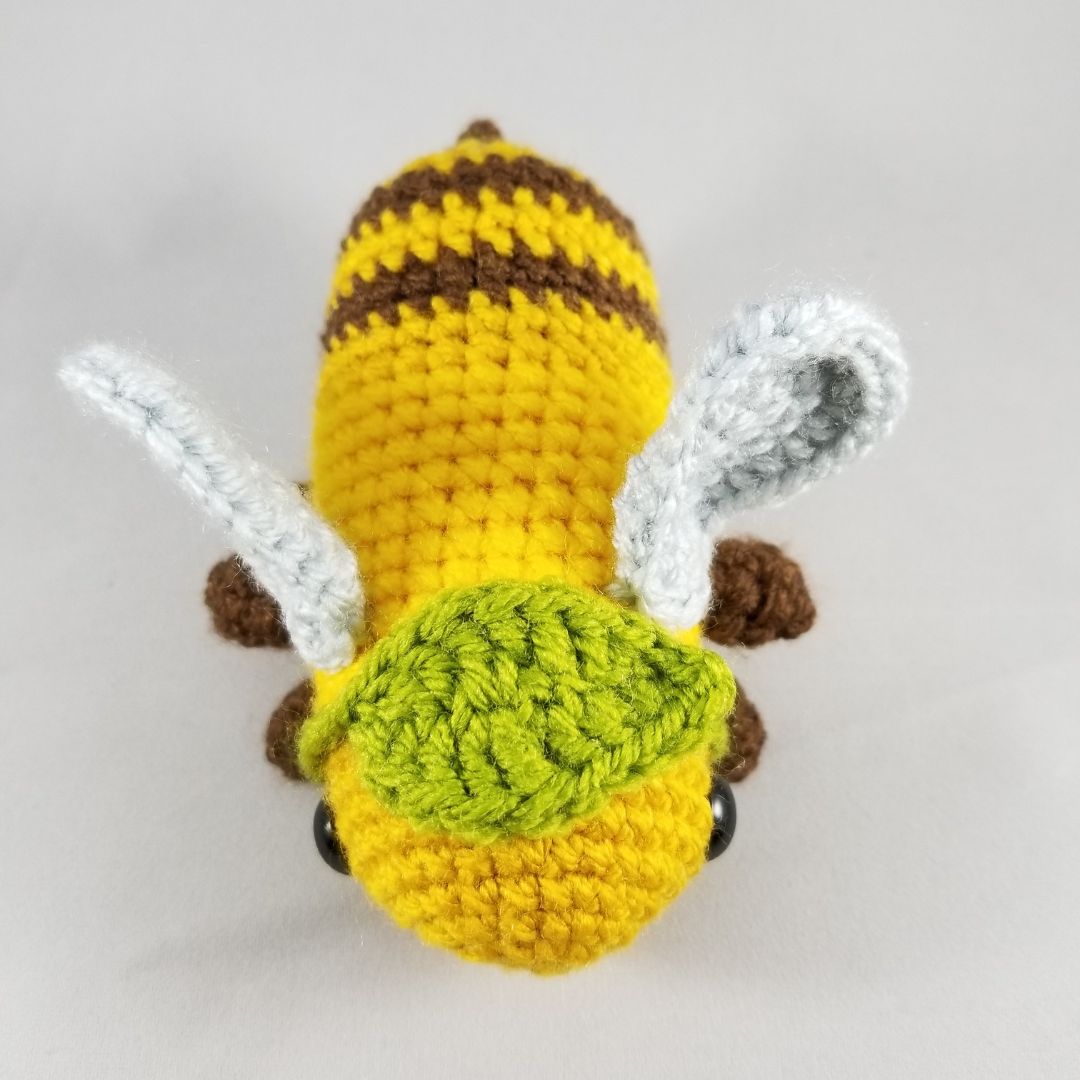
Thanks a million!!!! Lots of love and silliness<3

Written by Freddy Goat Design Team
Related Articles
Crochet Elizabethan Collar Pattern
Give your amigurumi Shakespearean era RIZZZZZZZ Do your amigurumi lack a certain je ne sais quoi? Do friends and family dismiss them as “stuffies”, “cute lil guys”, or “critters”? Do you find yourself wishing your amis had... GRAVITAS?!? We at Freddy Goat understand...
Friendship Hairbands (a Galentine’s Present!)
Friendship Hairbands (twin-out with your bestie!) If you liked our Fall Fun Hairbands from the Autumn 2024 issue of Crochet World magazine, you'll want to take advantage of our new free pattern! Friendship Hairbands are the perfect blend of playful amigurumi crochet...
Week 2: Trying Out Crochet Triangles
Wow! This was an incredibly difficult post to get started on! To be perfectly honest, I almost never use triangles in amigurumi creation, so I didn’t have much insight to impart when I sat down to write this. Then I realized that might be a blind-spot worth exploring....


Hi there! I really love the crochet bee bean pattern, however Im struggling a bit to get the legs on properly. When crocheting through both the body and the leg, I get this really pronounced ridge around one side of the leg that I dont see in the pictures and I’m unsure if I’m doing something wrong. How do you guys crochet on no sew pieces like this?
Thanks for the help
Hi There! Thanks for making Been:^) I have a suspicion I know what the issue is and I’ll try to describe what I think is happening below, but if you get the chance, send us a pic at [email protected]. That might help me diagnose the problem.
I am guessing that the ridge is being created because of the way you are working through the stitches on the first leg attachment rounds. On Rnds 11, 14, and 17, insert your hook through the leg sts from the inside out, then through the body sts the normal way to attach the first side of the leg. In the next rnd you will work into the remaining sts of the leg in the normal way.
I hope that clears the issue up for you! This is a great reminder to me that we need to clarify that in the written instructions (and maybe to add a pic as well!).
Get in touch if you still need help or to send us pics of the problem.
That worked! Thank you so much for the help!
Rad! So glad that solved the issue! I’ll update the pattern when I have a moment so others don’t have the same problem. Thanks for helping make it a better pattern<3
P.S. If you have time, we'd love to see a pic of your been!