
Before we get started, this is what you need:
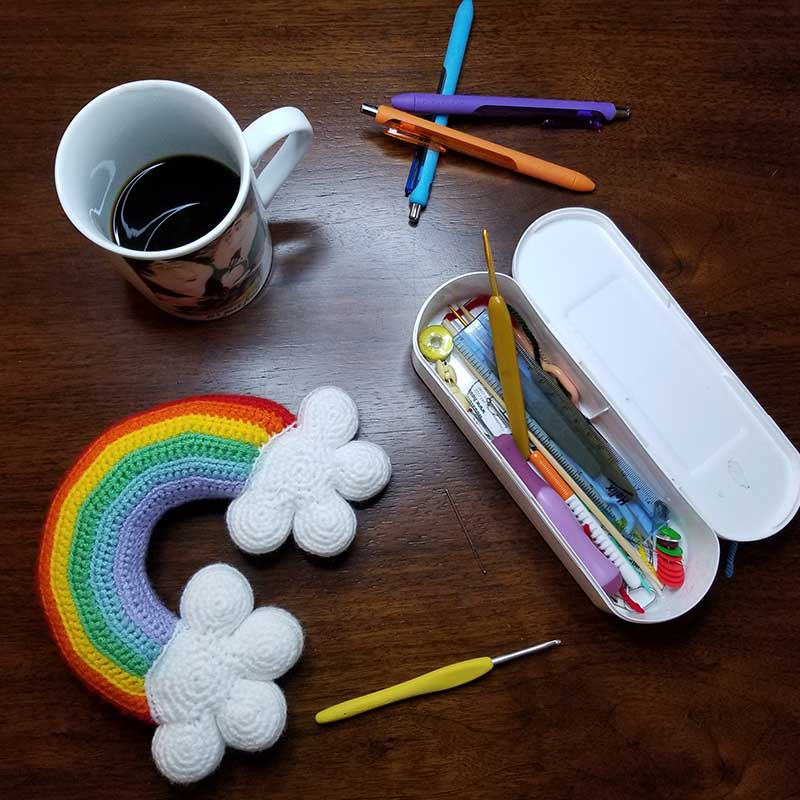
- 2.75mm(US C-2) crochet hook
- Aran or worsted weight yarn:
Red, Orange, Yellow, Green, Blue, Purple, and White - Tapestry needle
- Stuffing
5-rnd gauge circle = 1.75”/4.5cm Gauge isn’t terribly important in amigurumi, so it is okay to use a slightly larger hook if that is all you have. However, you don’t want to see stuffing through the stitches, so don’t get too big.
- Magic ring (MR)
- Single crochet (sc)
- Increase (inc)
- Invisible decrease (invdec)
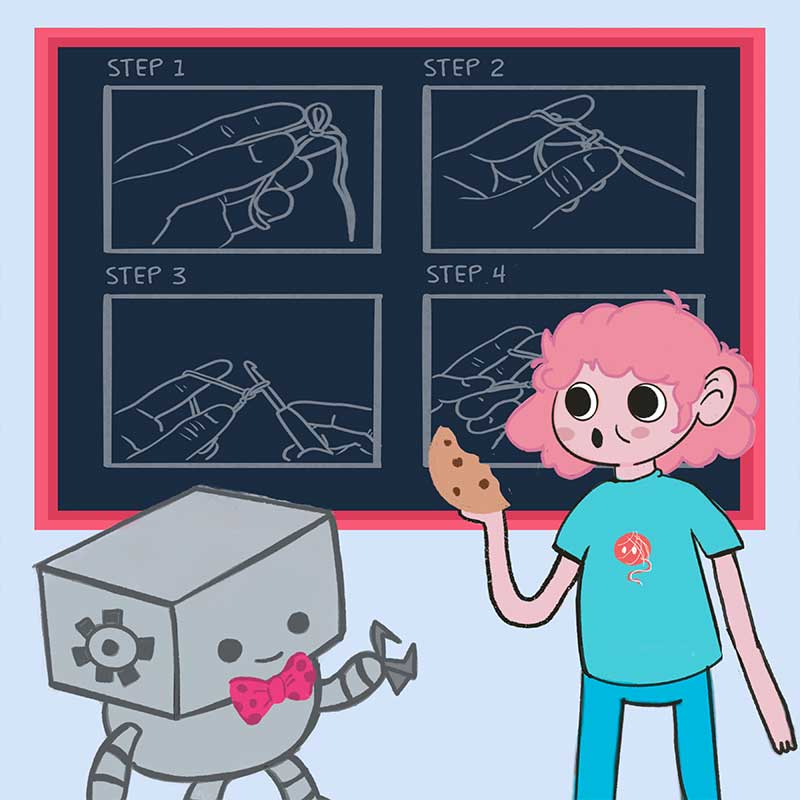
Download here our free Terms and Techniques glossary for more information.
Or check out Crochet 101 for tips on how to do these and other stitches!
©2021 Freddy Goat. FREDDY GOAT ALL RIGHTS RESERVED. No part of this pattern may be published, resold, reproduced (in any form or by and means, electronic or mechanical, by photocopying, recording or otherwise), shared, translated or altered without prior permission in writing from the author.
If you sell or exhibit items made using this pattern, credit Freddy Goat Patterns and Design as the original designer. Also, pleases give us a tag on social media so we can see your beautiful work.
Free rainbow crochet pattern instructions p.1
CROCHET CLOUDS
• Make 2 complete clouds, one for each side of the rainbow.
SMALL CIRCLES
• Make 8 using white yarn.
• Worked in the round.
Rnd 1: MR, sc 6. [6sts]
Rnd 2: Inc x 6. [12sts]
Break the yarn, make a sl st into the next st, then invisible join and weave tail into the back of the circle.
♥ In Rnd 4 of “Cloud Front and Back”, you will join 4 small circles to a large circle. “Join” the small circles by making an sc into one of the 12 sc of the circle, then continue to work around the small circle as described. Then make 1 sc into the base of the last sc you made in the large circle. This final sc is nearly impossible to see in Rnd 5 and you will naturally ignore it, so it is not included in the stitch count for Rnd 4 and is omitted in the instructions for Rnd 5.
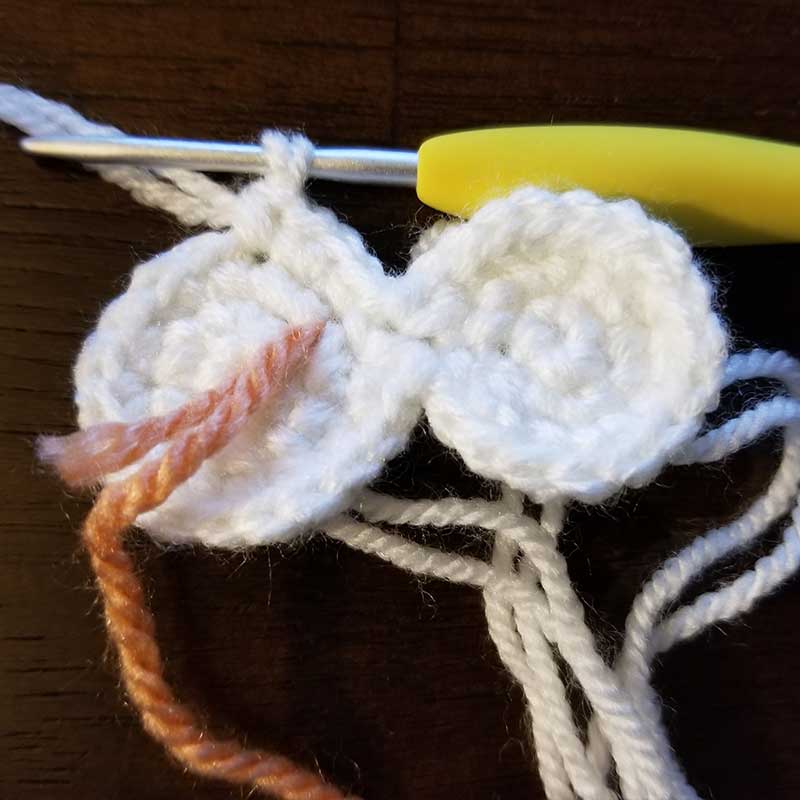
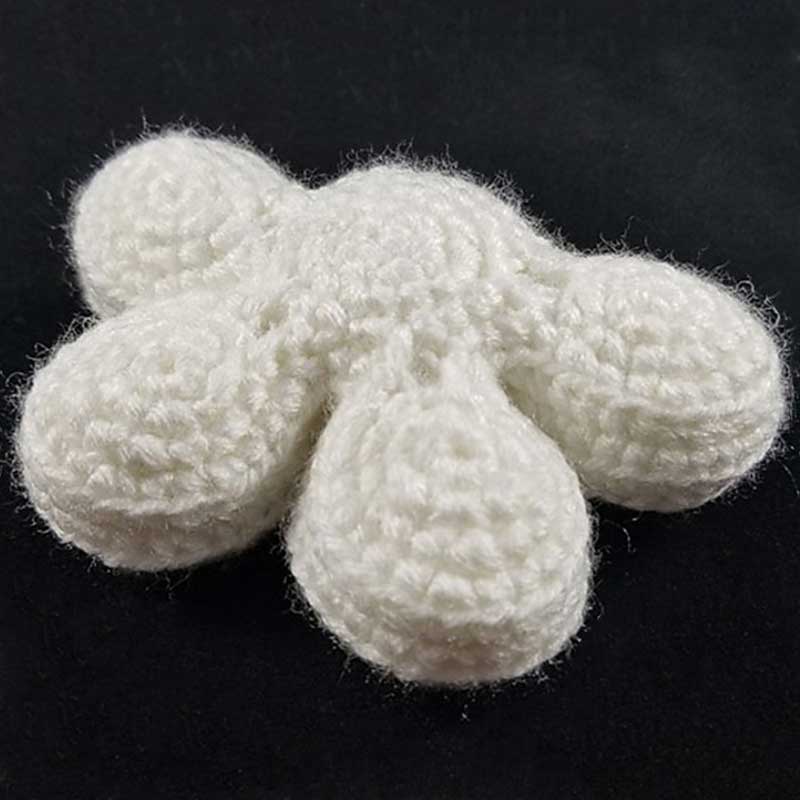
CLOUD FRONT AND BACK
• Make 2 using white yarn (one for the front and one for the back).
• The Cloud-Front and Back are identical through Rnd 5 of Cloud-Front and Back Assembly.
• Worked in the round.
Rnd 1: MR, sc 6. [6sts]
Rnd 2: Inc x 6. [12sts]
Rnd 3: *Inc, sc* x 6. [18sts]
Rnd 4: (Join♥ small circle, *sc, inc* x 6, return to large circle and sc into the same sc as join, then sc, inc, sc) x 4, *sc, inc, sc* x 2. [96sts — not including the sc at the end of each join]
Rnd 5: (*Sc, inc, sc* x 6, sk 1, sc 2, sk 1) x 3, *sc, inc, sc* x 6, sk 1, *sc, inc, sc* x 3. [114 sts]
For the Cloud-Back, break the yarn, sl st in the next st, invisible join, and weave the yarn tail into the back of the work. For the Cloud-Front, sc 1, sk 1, then continue with Rnds 6 and 7.
Rnd 6: BLO, sc 115.
Rnd 7: Sc 115. Break the yarn, leaving a very long tail for sewing. Line up the Cloud-Front and Back carefully and whip stitch the two sides together through the back loops of the final Rnds of both sides. Stuff each small circle as you go, then add additional stuffing before closing up the seam.
Free rainbow crochet pattern instructions p.2
RAINBOW
• Worked in Rows.
• Change colors at the beginning of Rows as indicated. For example, [Blue] means to change to blue yarn.
• Begin in Purple yarn.
• Stitch count does not include ch at the end of each Row.
Rnd 1: Ch 34; turn, sc 33 starting in the second ch from the hook; turn, ch1. [33 sts]
Row 2: Sc 33; turn, ch 1.
Row 3: FLO, *sc 5, inc, sc 5* x 3; turn, ch 1. [36 sts]
Row 4: Sc 3, *inc, sc 11* x 2, inc, sc 8; turn, ch 1. [39 sts]
Row 5: [Blue], *sc 6, inc, sc 6* x 3; turn, ch 1. [42 sts]
Row 6: Sc 13, inc, sc 14, inc, sc 13; turn, ch 1. [44 sts]
Row 7: [Green], FLO, *sc 8, inc* x 4, sc 8; turn, ch 1. [48 sts]
Row 8: Sc 5, *inc, sc 15* x 2, inc, sc 10; turn, ch 1. [51 sts]
Row 9: [Yellow], FLO, *sc 8, inc, sc 8* x 3; turn, ch 1. [54 sts]
Row 10: Sc 11, *inc, sc 17* x 2, inc, sc 6; turn, ch 1. [57 sts]
Row 11: [Orange], FLO, sc 18, inc, sc 19, inc, sc 18; turn, ch 1. [59 sts]
Row 12: *Sc 11, inc* x 4, sc 11; turn, ch 1. [63 sts]
Row 13: [Red], FLO, *sc 10, inc, sc 10* x 3; turn, ch 1. [66 sts]
Row 14: Sc 13, *inc, sc 21* x 2, inc, sc 8; turn, ch 1. [69 sts]
Row 15: FLO, *sc 11, inc, sc 11* x 3; turn, ch 1. [72 sts]
Row 16: Sc 72.
Row 17: FLO, *sc 11, invdec, sc 11* x 3; turn, ch 1. [69 sts]
Row 18: Sc 13, *invdec, sc 21* x 2, invdec, sc 8; turn, ch 1. [66 sts]
Row 19: [Orange], FLO, *sc 10, invdec, sc 10* x 3; turn, ch 1. [63 sts]
Row 20: *Sc 11, invdec* x 4, sc 11; turn, ch 1. [59 sts]
Row 21: [Yellow], FLO, sc 18, invdec, sc 19, invdec, sc 18; turn, ch 1. [57 sts]
Row 22: Sc 11, *invdec, sc 17* x 2, invdec, sc 6; turn, ch 1. [54 sts]
Row 23: [Green], FLO, *sc 8, invdec, sc 8* x 3; turn, ch 1. [51sts]
Row 24: Sc 5, *invdec, sc 15* x 2, invdec, sc 10; turn, ch 1. [48 sts]
Row 25: [Blue], FLO, *sc 8, invdec* x 4, sc 8; turn, ch 1. [44 sts]
Row 26: Sc 13, invdec, sc 14, invdec, sc 13; turn, ch 1. [42 sts]
Row 27: [Purple], FLO, *sc 6, invdec, sc 6* x 3; turn, ch 1. [39 sts]
Row 28: Sc 3, *invdec, sc 11* x 2, invdec, sc 8; turn, ch 1. [36 sts]
Row 29: FLO, *sc 5, invdec, sc 5* x 3; turn, ch 1. [33 sts]
Row 30: Sc 33.
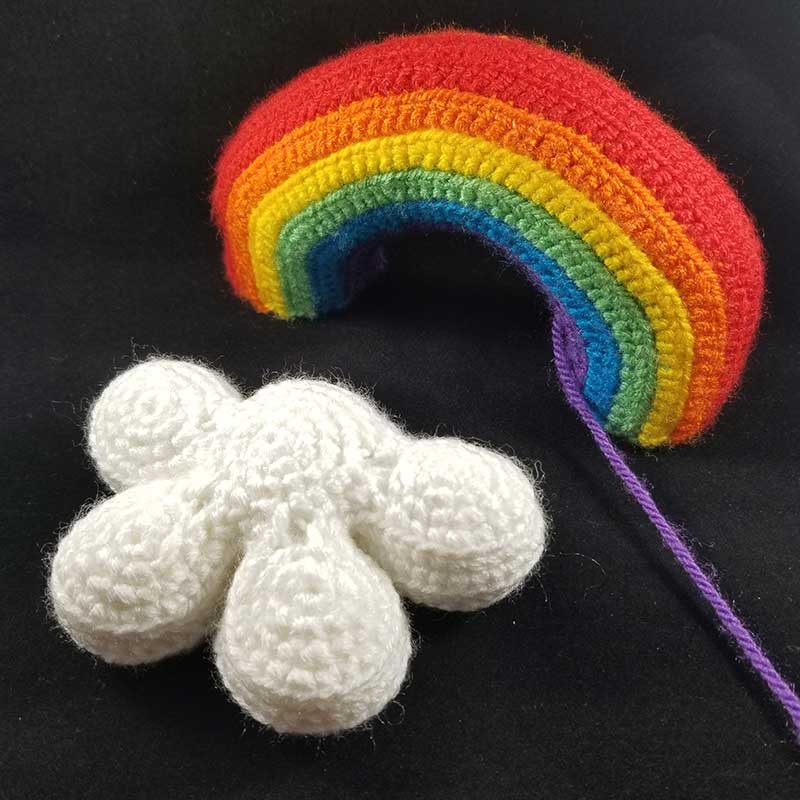
Break the Yarn, leaving a long tail for sewing, then fold the work in half. Line up the purple edges and sew them together. The rainbow should now look like a curved tube with open ends at either side.
Free rainbow crochet pattern instructions p.3
FINAL ASSEMBLY
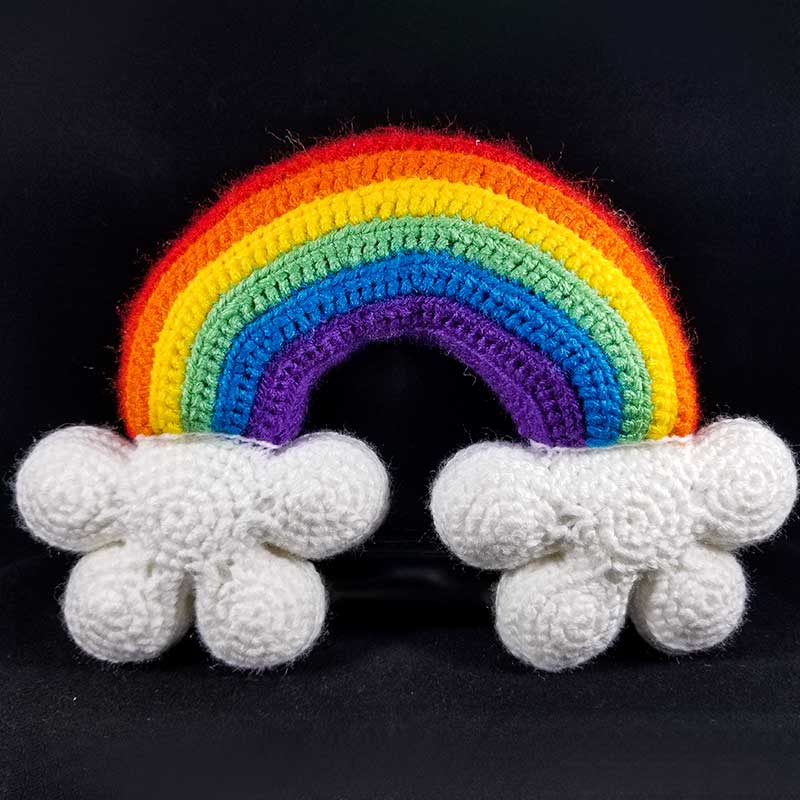
Using white yarn, slip stitch around the raw edges of the rainbow. There should be thirty stitches on each side. Then sew the open end of the rainbow to the top of a cloud through the back loops of the sl sts. Stuff the tube of the rainbow firmly then close it by sewing the other open end to the remaining cloud in the same manner.
Thank you so much for making Rainbow! We hope you love your ami and enjoyed the pattern. We would totally love to see the finished product. Please post a pic and tag us in your social when you have a chance. Also, drop a comment below or send us an email if you have any questions or feedback on the patterns.
Thanks a million!!!! Lots of love and silliness<3
Related Articles
Crochet Elizabethan Collar Pattern
Give your amigurumi Shakespearean era RIZZZZZZZ Do your amigurumi lack a certain je ne sais quoi? Do friends and family dismiss them as “stuffies”, “cute lil guys”, or “critters”? Do you find yourself wishing your amis had... GRAVITAS?!? We at Freddy Goat understand...
Friendship Hairbands (a Galentine’s Present!)
Friendship Hairbands (twin-out with your bestie!) If you liked our Fall Fun Hairbands from the Autumn 2024 issue of Crochet World magazine, you'll want to take advantage of our new free pattern! Friendship Hairbands are the perfect blend of playful amigurumi crochet...
Been – a simple crochet bee pattern
BEEN (that total unit of a crochet bee) Nearly three years ago we decided to do a series of simple, bean shaped patterns for begining crocheters, only to discover that "simple and bean shaped" isn't a lot of fun to design. The results? One charming Been, the...


0 Comments